Po několika stavebnicích jsem si, i vzhledem k tomu, že díky pracovní neschopnosti mám pár dní více volného času, zase jednou zamodelařil na vlastní pěst. Už nějaký čas jsem měl v plánu vyzkoušet si stavbu takového typického českého barokního farního kostela. Byla to tak trochu i výzva, protože jedna kamarádka svého času vyhlašovala požadavek, že shání pro svého manžela, tedy přesněji pro jeho kolejiště, nějaký pěkný model kostela, ovšem v měřítku H0.
Řekl jsem si, že vlastně ani nevím, jestli bych kostel byl schopen přesvědčivě jako model vytvořit. Původně jsem totiž umístění kostela na své kolejiště neplánoval a proto jsem se o vytvoření modelu kostela ani nepokoušel. Situace se ale změnila, protože mám pocit, že kostel jako typologický prvek do české krajiny neodmyslitelně patří a jako takový by se nejspíš v mém kolejišti měl také objevit.
Obecně plastikové stavebnice vlastně do budoucna použít nehodlám, protože už jsem se pustil cestou papírových modelů, ale nemám pocit, že by na českém trhu v produkci laser-cutových stavebnic byl výběr sakrálních staveb (až na drobné kaple a kapličky). Na jedné straně to chápu, protože kostel průměrných rozměrů je stavba poměrně velká a prostorově náročná. Nicméně alespoň jeden, dva typy by se na českém trhu asi objevit mohly... třeba gotický (neogotický) model a pak nějaký ten klasický barokní. Střední velikost kostela by pak měla jistě široké použití ať už v městských nebo venkovských scenériích, ale i jako samostatná dominanta, třeba jako kostel poutní (což je i můj plán).
Hradů a zřícenin už je na kolejištích nepočítaně (sám jsem modelem hradu (nebo spíš tvrze) při svém návratu k železničnímu modelářství začínal. Je čas na nějakou tu inovaci, ;)
A tak jsem se do modelu kostela pustil.
After building several
building-kits, I have, thanks to my temporary inability to work, a few more
days of spare time, once again started a scratch-built model of my own. For
some time now I had the intention of trying to build some typical Czech Baroque
parish church. It was a bit of a challenge inspired by a friend of mine who, at
the time, declared a request for a nice model of the church, but on the scale
of H0, for her husband, more precisely for his model railway layout.
I told myself
that I do not even know if I could create such model. Originally, I did not
plan to place any model of a church on my layout and therefore I did not try to
create it. The situation has changed, however, because I feel that the church
as a typological element in the Czech landscape is inherently belongs and, as
such, should probably also appear in my model railway scenery.
Generally, the
plastic kits I will not be using in the future because I have already set myself
on paper models, but I found there are almost no model kits of sacral buildings
on the Czech market (except for small chapels) in the production of laser-cut
kits. On one hand, I understand this, because the church of average dimensions
is relatively large and space-consuming. However, at least one, two types could
probably appear and might be successful among Czech railway modelers ... maybe
a Gothic (Neo-Gothic) model, and then some classic Baroque. The median size of
the church would certainly have a wide use, whether in urban or rural settings,
but also as a separate dominant, possibly as a pilgrimage church (which is my
plan).
There are
countless castles and ruins on model railway layouts in Czech lands (I myself started
with the model of a castle (or rather a fortress) when I returned to railway
modeling, now it is time for some innovation. ;)
And so I started the church model.
Vycházel jsem z archivního plánového materiálu - v tomto případě z projektu barokního architekta a stavitele Tomáše Haffeneckera na přestavbu kostela ve Velence ve středních Čechách. Tím pádem je model kostela svým způsobem stavbou vycházející z reality, ač nerealizovanou (přestavbu kostela ve Velence nakonec provedl, s mnohem větší architektonickou invencí, odborníky velmi oceňovanou, architekt Kylián Ignác Dientzenhofer).
My source were the
plans from the archive - in this case made by the Baroque architect and builder
Tomáš Haffenecker - project on the
reconstruction of the church in Velenka in central Bohemia. Thus, the model of
the church in its own way is a building based on reality, though the building
itself was never carried out (the architect Kylián Ignác Dientzenhofer
eventually carried out a reconstruction of the church in Velence, with a much
larger architectural invention).
 |
| Kostel sv. Petra v okovech ve Velence - K. I. Dientzenhofer - church of St. Peter In Chains in Velenka |
Kostel má realativně jednochou barokní podobu s nepříliš složitou hmotovou stavbou, která je pro mé modelářské schopnosti ještě zvládnutelná. I tak byl v mnoha ohledech model pro mě výzvou, zejména střecha, ať už věže nebo hlavní lodi kostela. Barokně zvlněné konvexní a konkávní oblé tvary se vyskytují, ač v menší míře, i v Haffeneckerově projektu.
The church has a relatively simple Baroque look
with a rather complex mass structure that is still manageable for my modeling
abilities. Still, in many ways, it was a challenge for me, especially the roof,
whether on the tower or on the main church ship. Baroque curved convex and
concave obverse shapes occur, albeit to a lesser extent, in the Haffenecker’s
project..
 |
| Projekt Tomáše Haffenckera na úpravu kostela va Velence, 1729 |
Vyšel jsem tedy z plánů z roku 1729 a díky modelu začal vytvářet možná vůbec první hmotnou podobu této idey, vyjádřené do té doby pouze na ploše plánu ve "2D".
Nejprve jsem si narýsoval vlastní půdorys, odrážející už technickou stavbu modelu a také jsem si načrtl řešení modelové stavby a jejího postupu...
Inspired by the plans dated 1729 and, in the
model form, I began to create perhaps the first material form of this idea,
which until then was only expressed on the paper as "2D".
I first outlined my own revised version of the ground plan, reflecting the future
technical construction of the model, and also sketched the model construction
and its progress ...
Pak jsem se už pustil do výroby jednotlivých dílů a jejich kompletace. Při stavbě jsem samozřejmě některé stavební kroky musel přehodnotit nebo upravit tzv. za pochodu, aby byly lépe a snáze realizovatelné. Snažil jsem se ale pokud možno příliš nezpronevěřit původní podobě projektu a kostel tvarově nezjednodušovat.
Then I started to manufacture the parts and their
assembly. During the construction, of course, some construction steps had to be
re-evaluated or modified so that they could be better and easier to carry on.
However, I tried to prevent bigger alternations of the original form of the
project and avoid the simplification of the building's shape.
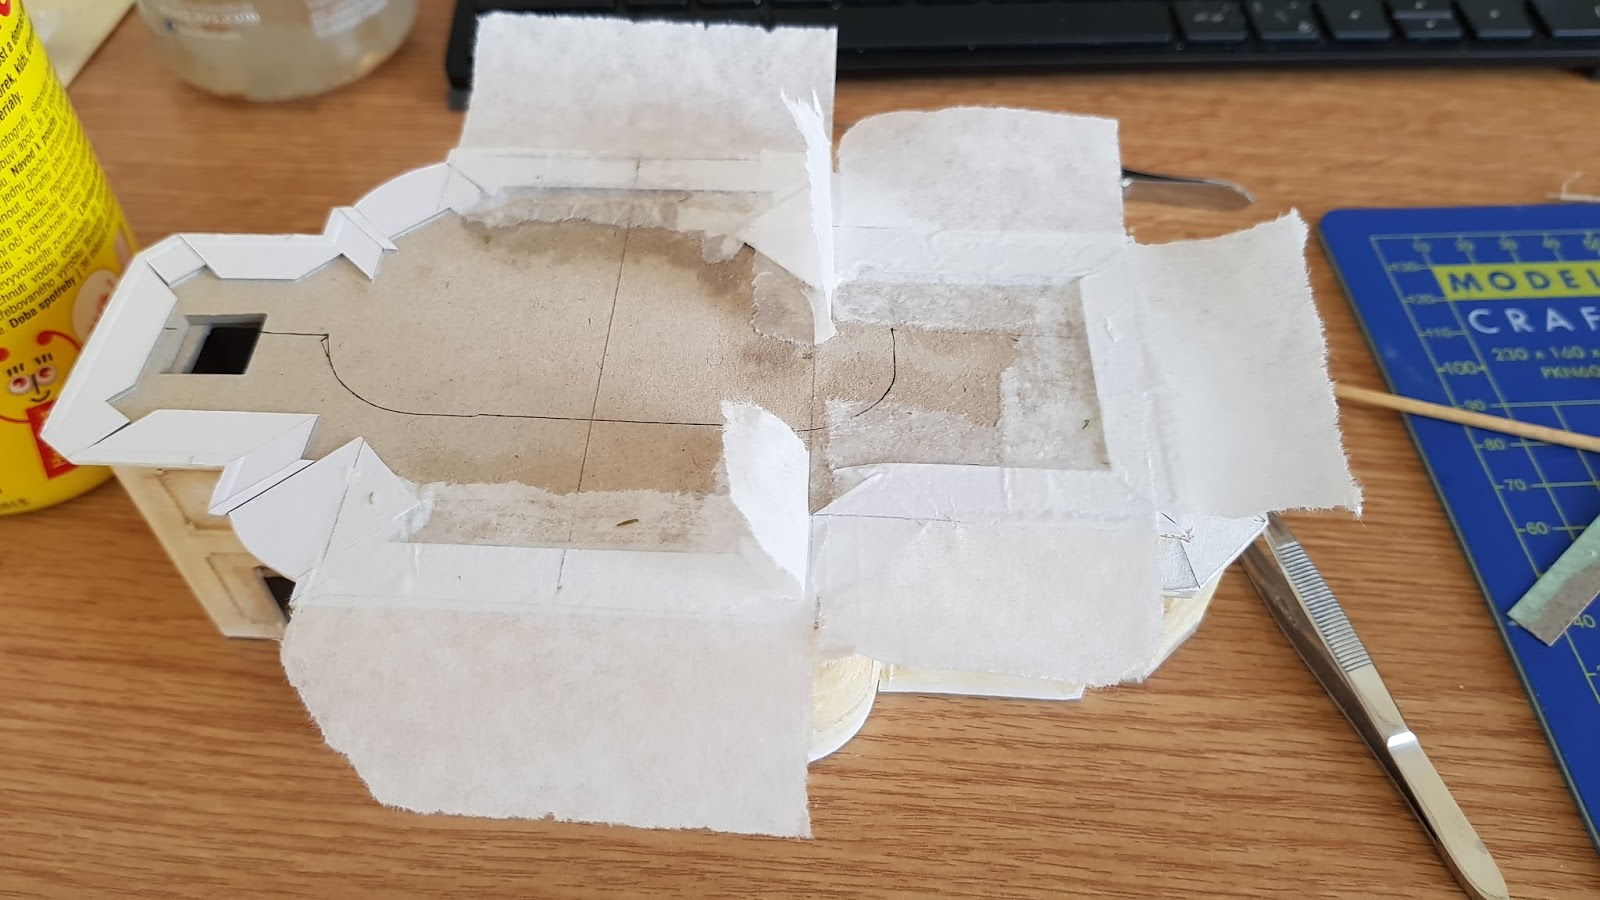
Stavbu jsem tedy začal vyřezáním a lepením zakladních tří konstrukčních vrstev půdorysu - úrovní podlahy, okenních parapetů a konečně stropu (teoreticky klenby, ale interiérem jsem se v tomto případě nezabýval).
The construction started with the cutting and
gluing of the three basic structural layers of floor plan - floor level, window
sills level and finally the ceiling (theoretically vaults, but I did not work
on the interior in this case).
 |
| Obrys půdorysu s výřezy pro vylehčení a případné umístění osvětlení do interiéru - 3 konstrukční vrstvy |
 |
| Pro lepší přilepní svislých stěn jsem na vrchní, spodní, repsektivě obě strany přilepil další kousky 2mm lepenky, lícující s okrajem |
 |
| A všchny tři vrstvy naskládané na sebe. |
Úrovně jsem pak propojil v rozích vnitřních výřezů svislými stojkami, vše z 2mm papírové lepenky. Tak vznikla základní kostra budovy, jakýsi montovaný skelet. :-)
Levels I then
interconnected at the corners of the inner cutouts with vertical posts, all made
of 2mm paperboard. This created the basic skeleton of the building, a sort of
assembled skeleton. :-)
 |
| Výroba stojek pro nosný skelet - zářezy odpovídají tloušťce dílů a v půdorysných dílech byly vyříznutý odpoídající zářezy pro zasunutí stojek. |
 |
| Nejprve jsem spojky vlepil do střední vrstvy, protože pak už bych je na místo nedostal. |
 |
| Všechny tři vrstvy, tedy i obě krajní, na svých místech |
 |
| Zde už jsou vlepeny stěnové výztuže v zadní části presbytáře a pak následoval stejný postup i v přední části věže, kde je na obrázku vlepena zatím jen spodní část. |
Poté už následovala kompletace a lepení stěn na skelet. Začal jsem oblými rohy chóru kostela. Ty jsem lepil z klasické kladívkové čtvrtky, protože je ohebnější a plocha takových stěn není velká, takže pevnost čtvrtky v tomto případě stačí, navíc zdvojené lepením lesénových rámů.
Then followed the assembly and glueing of the
walls to the skeleton. I started with the round corners of the church chorus. I
cut it out from the classic drawing paper because it is more flexible and the size
of such walls is not big, so the strength of the paper in this case is enough,
moreover doubled by gluing the decorative frames. In the end there were three layers altogether.
 |
| První vrstva oblého rohu na místě... a vpředu kompletní plošná výztuž čelní stěny věže, která spolu s výztuží zadní stěny presbytáře zavětruje a ztužuje celý skelet. |
 |
| druhý roh - první vrstva |
 |
| Další dvě vrstvy na oblém rohu - tužší balící papír a další vrstva čvrtky, vyřezaná jako lezénový rám. Ten vlevo se mi podařilo přilepit opačne (strany bohužel nejsou zcela souměrné) a musel jsem ho odtrhnout a přilepit znovu, proto ten potrhaný povrch "zrcadla" stěny. Později to nátěr naštěstí schová. |
 |
| Hotové oblé rohy chóru kostela. |
Následovaly boky chóru, presbytáře a věže. Tady už bylo nutné vyřezávat i okenní a dveřní otvory a následně také nalepit dvě další vrstvy povrchu stěn.
The sidewalls of the choir, the presbytery, and the tower
followed. Here it was necessary to cut windows and door openings, and also to add
two layers of wall surface.
 |
| Vyřezávání okenních otvorů do bočních stěn presbytáře |
 |
| Kompletní boční stěny chóru |
 |
| Sestavené přízemí kostela s rozpracovanou korunní římsou |
Po kompletaci a osazení stěn přízemí kostela, tedy až po korunní římsu, nezbývalo než pustit se do vrchní části věže. Vyřezat stěny, do nich okenní otvory, pak vyřezat díly lesén a plastické výzdoby kolem oken, připravit konstruknčí díly podlahy a stropu věže a také vřezat pilířky, které budou tvořit podklad zkosených rohů a zároveň budou s podlahovým a stropním dílem hlavní nosnou částí konstrukce patra věže.
After completing and installing the walls on the
ground floor of the church, up to the crown cornice, the next was the top of
the tower. To cut the walls, window openings, cut the decorative parts of the frames
and plastic decorations around the windows, to prepare the construction parts
of the floor and the ceiling of the tower, and also cut the little pillars that
will form the base of the bevelled corners, and with the floor and ceiling
parts create the main supporting structure of the tower.
to be continued....