Stavba modelu pokračovala patrem věže. Nejprve bylo nutno vyřezat díly stěn s okenními otvory ve třech z nich (lepenka tl. 1mm), následovala vrstva plastické výzdoby a pak ještě drobné architektonické články.
The construction of the model continued with the upper part of the tower. At
first, it was necessary to cut out the wall parts with window openings in
three of them (cardboard, thickness 1mm), followed by a layer of plastic
decoration and then small architectural articles.
 |
| Patro věže na plánu a vyznačení plastických architektonických článků, které bude nutno nalepit ve druhé vrstvě. 1st floor of the tower on the plan and designation of plastic architectural elements that will need to be glued on in the second layer. |
|
 |
| První vrstva plastické výzdoby - lesénový rám a okenní šambrána. The first layer of plastic decoration - a frame and a window moulding. |
Pak bylo nutno ještě vytvořit výplň okenních otvorů, protože později už by bylo obtížné ji vsazovat, protože jde o lamelové okenice, propouštějící ven zvuk zvonů ale chránící interiér před nepřízní počasí.
K jejich vytvoření jsem použil odřezky (zbytky) z laser-cut stavebnice. Jemné zoubkování jsem použil jako distanční prvek lepení lamel a zároveň bylo šikovné naklonění jednotlivých lamel na tyto zoubky nalepené (zbytek z upevnění štítových dílů s vyřezanými konci prken).
Then
it was necessary to create a window infill, because later it would be
difficult to get it to its place, as these are slated shutters, letting through the sound
of the bells but protecting the interior from bad weather.
To create them, I used cutouts from the laser-cut kit (the rest of the fastening of the gable parts with the
carved end of the planks). I
used fine saw-teeth like pieces as a spacing element for gluing slats, while
at the same time, these teeth
provided the tilting of the individual lamellas being glued on .
 |
| Na lamely jsem použil odřezky z jiné stavebnice, kde byl tenčí, ale pevný karton nalakovaný hnědým lakem. Ty jsem pak ještě z vnitřní strany a na hranách natřel hnědou barvou. I used scraps from another kit to create the slats, where there was thinner, but harder cardboard covered with brown varnish. I then painted a brown paint on the inside and on the edges. |
Když byly stěny kompletní, došlo na díly podlahy a stropu patra věže. Když byly připraveny i ty, sestavil jsem kvádr patra věže.
When the walls were complete, the floor and ceiling parts of the tower were made. When they were ready, I assembled the upper part of the tower.
 |
| Sestavování patra věže. Zvenku pak na plochu stěn byl nalepen díl lezén a drobné architektonické články okenních šambrán. Assembling the tower. On the outside of the walls were glued framing parts and small architectural elements of window frame mouldings. |
 |
| Patro věže sestavené a zkusmo osazené na místo určení. Storey of the tower assembled and experimentally put to its place. |
|
V té době už bylo jasné, že budu muset kousnout do kyselého jablka a začít se zabývat také střechou kostela... a začal jsem tedy rovnou střechou věže, protože se mi jevila jako složitější. Pokud zvládnu tu, se zbytkem už si poradím, říkal jsem si. :)
Pustil jsem se po nějaké době přemýšlení do toho a šel cestou žeber, určujících tvar a pak jejich polepení "plošným potahem".
At that
time, it was clear that I would have to bite into a sour apple and start dealing with the roof of the church ... so I started with a roof
of the tower because it seemed more complicated to me. If I could handle this, I'd be able to do the rest, I thought. :)
After thinking it through I started to work on it. I chose to create the ribs, that would define the shape and then glue the "flat" parts on them .
 |
| Protože jsem nedělal dokumentaci během lepení střechy věže, pokusil jsem se nakreslit princip konstrukce. Díly jsou z lepenky tl. 2mm a dřevěné distanční profily mohou být nahrazeny potřebně vysokými odřezky lepenky. Because I did not do the documentation while assembling the tower roof, I tried to draw the design principle. The parts are made of cardboard. 2mm, and wooden spacing profiles can be replaced with the usefuly high cardboard cuts. |
 |
| Základ střechy - základová destička, na níž byl přilepen kříž z tvarových dílů - viz nákres výše. The base of the roof - the base plate on which the cross of the molded parts has been glued - see the diagram above. |
 |
| Nejprve jsem nalepil úzké nárožní pásky a pak mezi ně vlepoval větší plochy. I glued the narrow corner stripes first and then added the larger flat areas between them. |
 |
| zkouška usazení spodního dílu střechy na místo Testing how the lower part of the roof fits into place |
 |
| horní část střechy věže - vzhledem k malé velikosti nahradila vodorovná žebra dolního dílu žebra svislá. Tady jsem lepil v opačném pořadí - nejprve větší plochy a teprve pak vlepoval nárožní proužky. the
top of the tower's roof - due to its small size, the horizontal ribs of
the lower roof part have been replaced by the vertical ribs. Here I was glueing the planking in the opposite order - first larger areas and then adding the corner strips. |
 |
| Hotová střecha věže, polepená proužky znázorňujícími plechovou krytinu a nabarvená. Fotka už trochu předbíhá, protože tady už je celá stavba (tedy stěny) natřená primalexem. A finished roof of the tower, covered with strips representing the sheet metal and painted. The photo is a bit ahead, because here the whole building (ie walls) is painted with primalex. |
Pak tedy došlo na nalepení základu pro střechu přístavku - sakristie a vzápětí i na polepení plochou "bednění" střechy. Když byla střecha sakristie na místě, byl čas celou spodní část kostela natřít. Primalex v rámci měřítka věrně napodobuje omítku a navíc celou stavbu příjemně zpevní a uzavře.
Then I glued the base of the roof of the annex - sacristy into place and then I also glued the "planking" of the roof. When the sacristy roof was in place, it was time to paint the entire lower part of the church. Primalex faithfully mimics the plaster on the scale and, in addition, makes the building more firm and fixed.
 |
| Základ střechy sakristie - žebra The foundation of the sacristy roof - the ribs |
 |
| A nalepená střecha. The roof planking in place. |
 |
| Natřená přední část kostela. |
A pak už s dolní stavbou nebylo mnoho práce... spíš věc citu a představ - tedy barevné řešení. Plastické členění stěn nabízelo variantu dvoubarevnou... ale já mám v úmyslu snažit se vytvořit na svém kolejišti nádech 30. let... a v té době ne všechny kostely vypadaly jako nové. Když se dívám na steré fotografie z té doby, bývá to spíš naopak... často jsou to chátrající omšelé stavby, které vzhledem ke své velikosti bylo finančně náročné udržovat a proto často byly dělány jen nutné opravy a údržba. Zvolil jsem tedy vzhled kostela, který po stavební stránce je v pořádku, ale to je tak všechno... jeho fasáda už zažila lepší časy a ty byly už poměrně dávno...
Následuje pár ukázek vzhledu, který mám na mysli... často se dokonce jedná architektonicky o velmi podobné stavby.
And then there was not much work on the bottom structure ... a color solution, which was more a matter of feeling and imagination. The
plasticity of the walls suggested a two-color option ... but I
intend to try to create a 30s period feeling ... and at that
time not all churches looked new. When I look
at the photographs of the time, it's rather the opposite ... these
are often dilapidated buildings that are costly to maintain due to their
size and therefore only necessary repairs and maintenance are often
done. So I chose the look of the church, which structure is sound, but that's all ... its facade has
already experienced better times and it has been around for quite some
time ...
There
are a few examples of the appearance I have in mind ... it is often
even architectonically very similar to the project I chose.
 |
| Téměř totožný s Haffeneckerovým projektem. Možná je autorem i této stavby. Almost identical to Haffenecker's project. Perhaps he is also the author of this building. |


 |
| Jde mi však spíše o takový vzhled - kostel ještě vypadá používáný a relativně udržovaný, přesto nezáří novotou. I rather like this look - the church still seems to be used and
relatively well-maintained, yet it does not radiate the novelty. |
 |
| Velmi podobné hmotové řešení stavby, i když větší chór, ale téměř identická střecha věže. A very similar structure solution of the building, although a larger choir, but almost identical tower roof. |
 |
| A jedna dobová fotografie za všechny. One example of a period photo. |
A jak tedy nakonec vypadá kostel po nabarvení fasády? Tady je pár fotografií, kterými uzavřu tuto část popisu stavby... pokračování zase příště.
So how does the model look after the facade being painted? Here are a few photos to close this part of the construction description ... we will continue next time.
 |
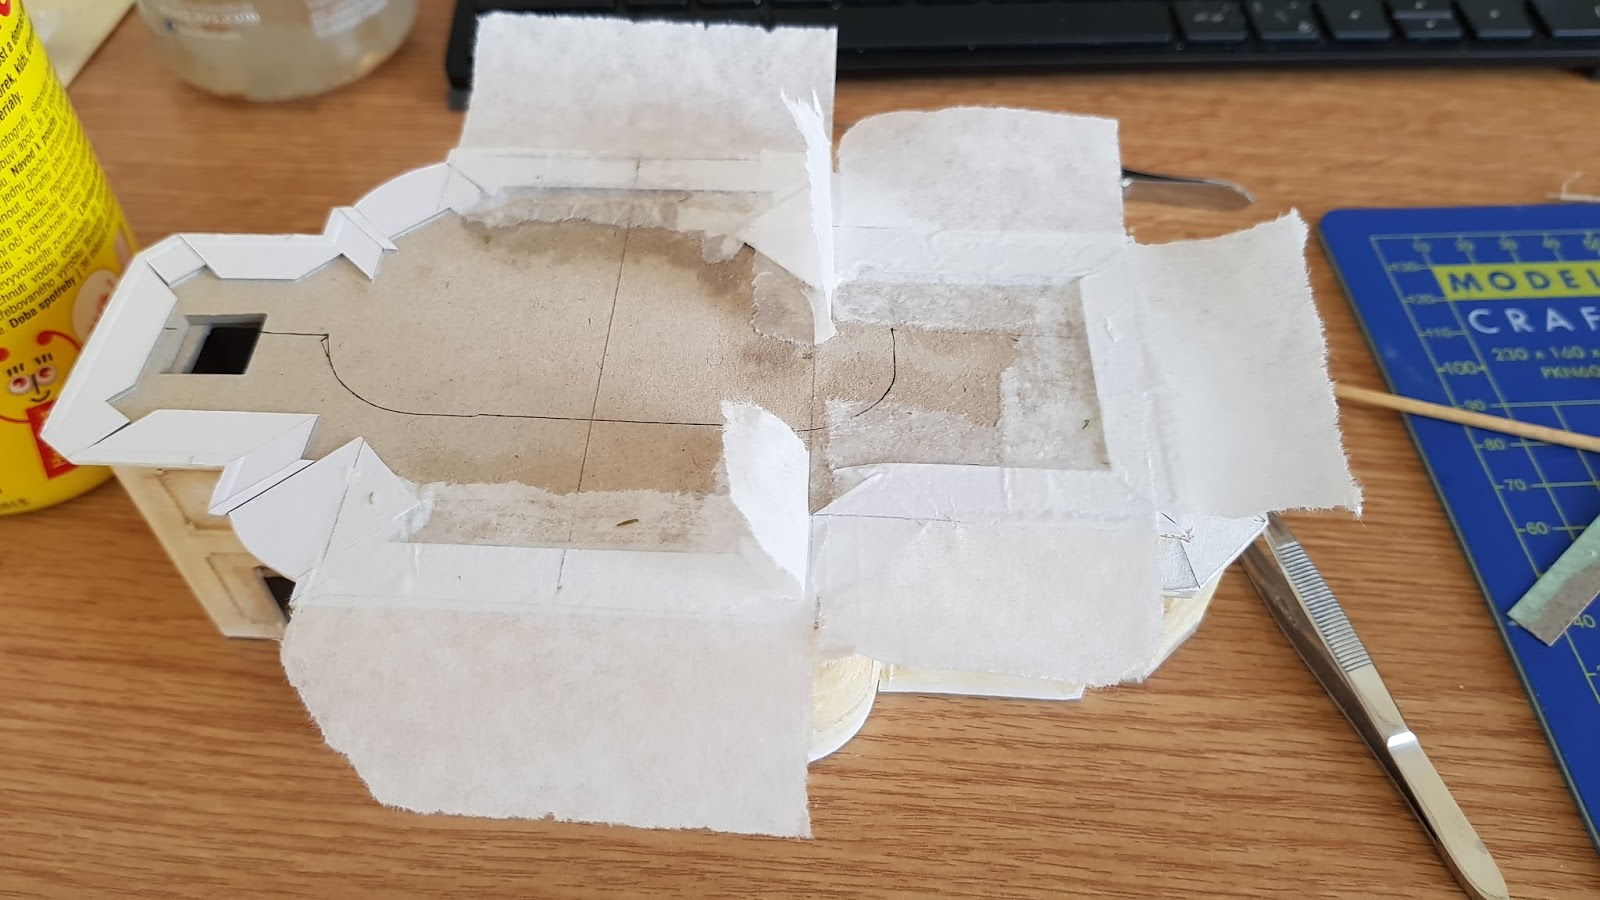
| Fasáda po aplikaci okru a na jedné stěně zkusmo i umbra. Příprava na přilepení střechy kostela - kousky "šmíráku" - skicovacího tenkého lehce průsvitného papíru, který je ale i docela pevný. Facade after the application of the ocre and on one wall I also tried umbra wash. Preparing
for the glueing of the roof - pieces of "tracing paper" - a thin,
lightly translucent paper, which is also quite solid. |
|
 |
| Zatížení přilepované horní části věže. Fasáda už má všechny tři barevné vrsty - okr, umbru i černou barvu, která nahradí přrozené zašpinění fasády za dlouhá desetiletí. Weighting down the top of the tower. The
facade already has all three color layers - ocre, umbra and black washes,
which represents the natural dirt collected on the facade over decades. |
 |
| Na střeše chóru ještě chybí nárožní obloukové díly, které byly doplněny později. There are still rounded parts missing in the choir roof corners, later added. |


Žádné komentáře:
Okomentovat